
[Playbook] Drag and Drop Documents from Your Backlog
Here’s the Situation: Your bank has made the decision to switch to a different document management system (we’ll assume it’s AccuAccount!). Many of your customer and loan records are already in digital format. Now, you’re tasked with moving all of them to the new system. It’s a big job! This article shares three “plays” for using drag and drop to efficiently move documents.
Play #1: Drag and Drop Individual Documents (as-is) into the Customer’s Electronic File
In a perfect world, your existing document structure would be a near-perfect match for your new system. In addition, your legacy system would make it easy to export documents such that they’re organized by customer and account. And, ideally, no editing of the documents themselves would be required.
Here’s the Game Plan
If you’re living in a perfect world like this (or close to it), this play is for you.
Step 1: Locate the customer’s electronic documents on your desktop computer or network drive.
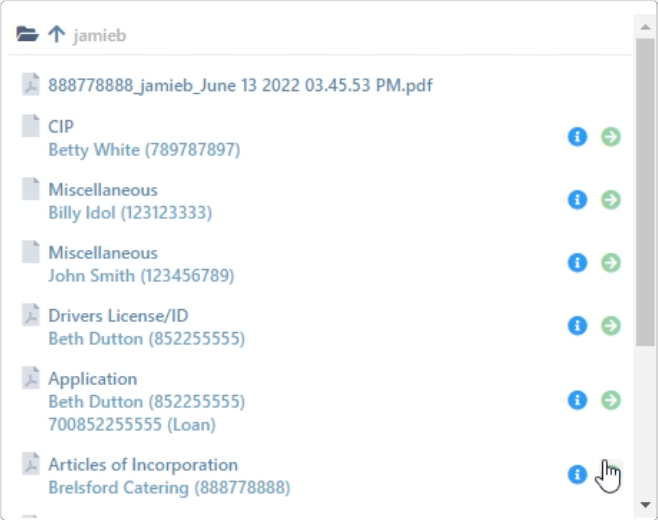
Step 2: Open AccuAccount and find the matching customer record. You’ll see a page like this: 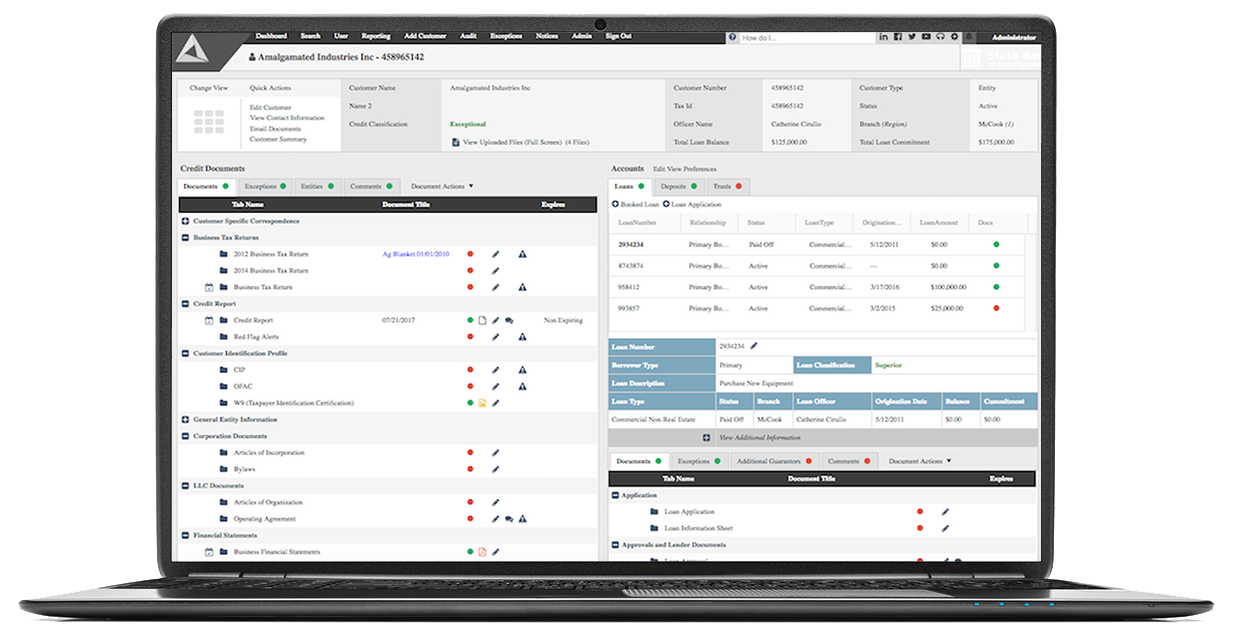
Step 3: Click on the document that you intend to move. Continue to hold down on the button and move your cursor over the correct document tab in AccuAccount. Release the button to add the document to AccuAccount. Make sure the color-coded document indicator has changed from red to green.
Step 4: Need to add comments, update expiration dates, or merge documents together? Just click on the document’s edit icon in AccuAccount.
Play #2: Drag & Drop Documents that Require Editing with accuimg
In reality, not every document will be a one-to-one fit between your old and new systems. Sometimes, you need to break apart certain documents, rearrange pages, or make edits prior to uploading them. That’s where a tool like accuimg comes in handy.
Here’s the Game Plan
Step 1: Launch accuimg on your computer.
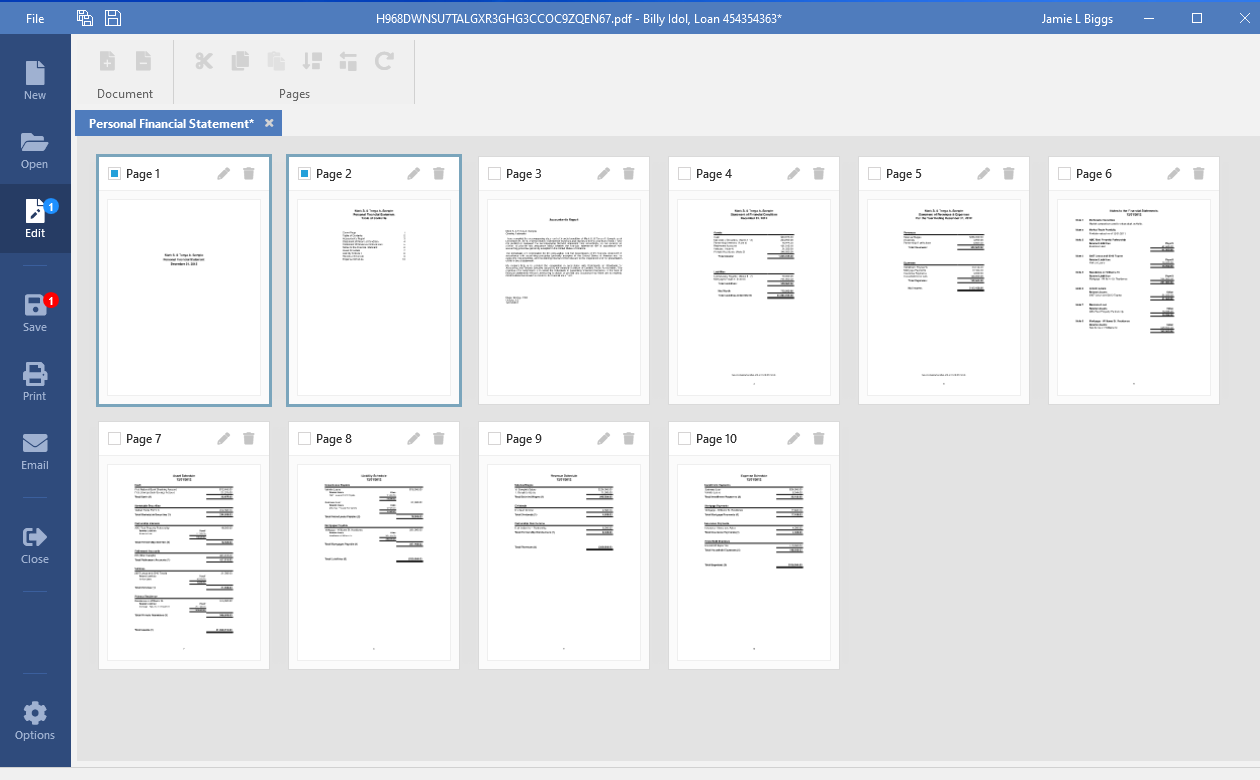
Step 2: Drag and drop your document(s) into accuimg. You can edit individual documents or large electronic files containing many different types of documents.
Step 3: Use accuimg to make your edits. Thumbnails make it easy to navigate between pages. Breaking documents apart is also easy with accuimg.
 Step 4: Happy with your edits? Simply select each document from accuimg and drag it into the appropriate place in AccuAccount.
Don’t want to drag and drop from accuimg? No problem. Just search for the correct customer and loan in accuimg to save each document to AccuAccount.
Play #3: Empower Other Users to Drag & Drop with AccuPrint
What if you want to let other people at your bank—not just loan admins—upload electronic documents? Great idea! Alogent's users can use AccuPrint, an ePrint upload tool, to implement a decentralized conversion strategy.
Here’s the Game Plan
Step 1: Locate the electronic document(s) that need to be migrated.
Step 2: Drag and drop documents onto the AccuPrint icon on your desktop. Dragging and dropping an entire folder of documents? For best results, make sure each document within a folder is for one specific customer. Uploaded documents are saved in an “uploads” folder for review.
Step 3: Someone (maybe you!) will need to review everything in the uploads folder, make any necessary edits (using accuimg), and save the documents to their final destinations in AccuAccount.
Need Help Working Through Your Electronic Backlog?
We’ve helped hundreds of banks and credit unions implement AccuAccount. Ask a question or request additional information about accuimg and our other imaging solutions.
Be the first to know! Click below to follow us on LinkedIn for news and content updates!